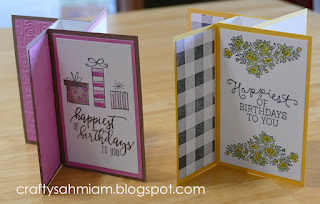
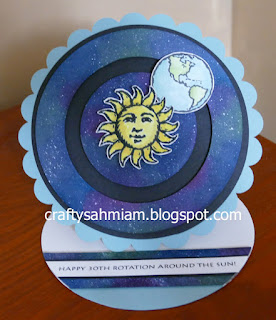
I created this fun fold card with a new to me stamp set
I bought specifically to use for my son's birthday.
It's called One Wild Ride and is by Stampin' Up!
Although it is new to me, the set has been available
since 2016.
It's actually a pretty easy card to make.
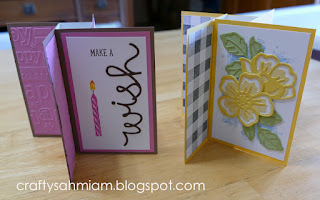
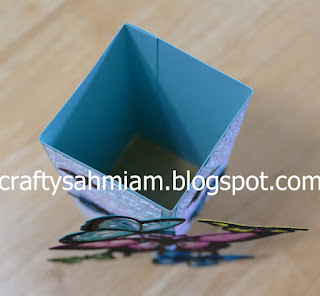
The trickiest part was getting the front panel
stuck in the right position -
until it hit me:
fold the card flat to adhere it.
I was trying to do it while it was
in the folded, upright position.
Silly me!
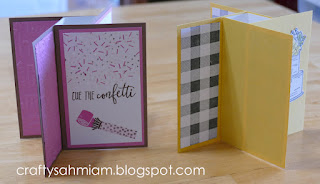
Sorry, I didn't take step by step photos,
but you should be able to figure it out
using the diagram and photos below.
top view
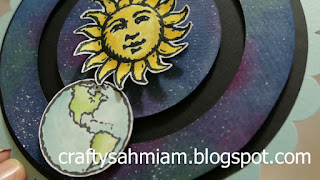
back view
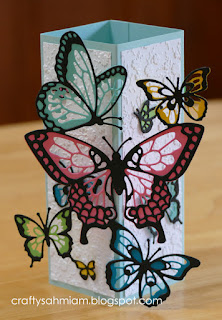
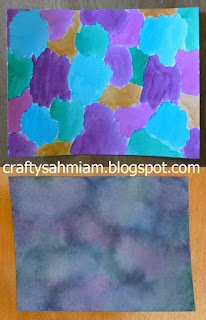
I also used the old Sanded background stamp (2008?)
and screw head stamp from Nailed It (2017),
both also SU! sets.
The embossing folder is Diamond Plate by Darice.
Some sponging, heat embossing
detail work with markers plus dimensionals
finish it off.
You could easily make a small pocket
to hold a sliding out sentiment and signed piece
or even a gift card / cash.
Glue it to the center panel.
Here is a tip:
save the scraps from the new CLING mount stamps
to cut into pieces and use on the old not so sticky
CLEAR mount stamp sets by Stampin' Up!
It worked great!
When I was assembling my new Geared Up Garage cling stamp set,
I wondered if I could perhaps use pieces of the scraps to
place over the backs of the also new to me One Wild Ride
stamp set. It is the clear mount style. I've never had luck with
sticking this type to acrylic blocks, preferring to buy wood mount stamps still.
It does take a little bit of work,
especially peeling apart the pieces if you
don't have much fingernail length like myself ;)
Just be sure to note the difference between the sides
so you stick the correct side to your stamps.
Peel away the shiny side, stick the clear sticky film
to your stamp then remove the dull side.
I'd like to take a moment to remind drivers to
Thanks for looking, have a great day :)